How to Sign Up a Walk-In Easily
Process a drop-in customer at the front desk in under 2 minutes.
Steps
- Navigate to: Payments > Point-of-Sale
- Click: Guest (Walk-in) or search for an existing customer
- For a new guest: enter name (first name minimum), and optionally email and phone
- Add the drop-in product for the class they’re attending
- Select payment method: Card (swipe/tap or manual entry) or External (cash, Venmo, etc.)
- Complete checkout
Add Them Directly to a Class
To put a walk-in straight onto a specific class’s roster, open the class session and use its Manage registrations tab.
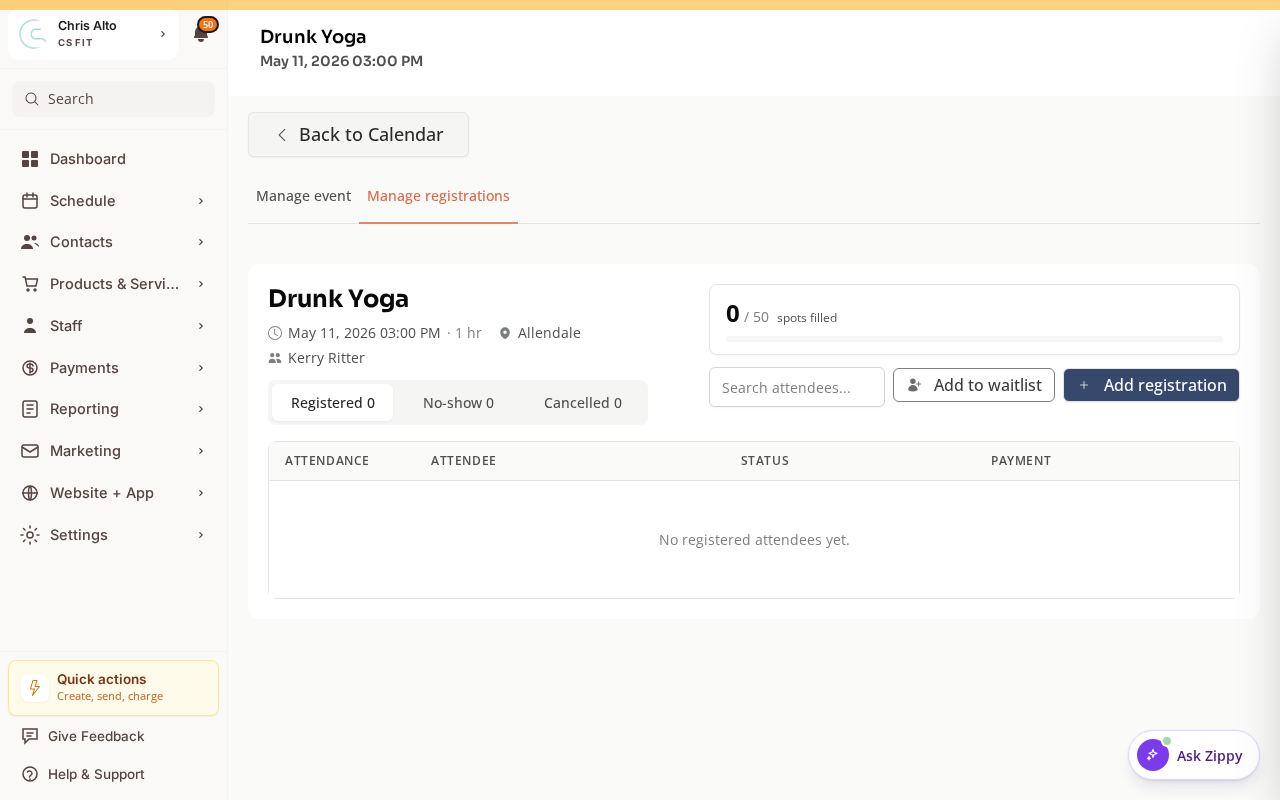
Click Add registration, then search for the customer — or click Create new to add a brand-new walk-in on the spot.

If They Already Have an Account
Search by name or email in the Point-of-Sale customer selector — their existing credits/memberships will be available.
Tips
- Favorite the drop-in product: Mark your most-used drop-in as a Favorite so it appears first in the Point-of-Sale product list.
- Use Kiosk Mode: For self-service check-in, set up Kiosk Mode so walk-ins can check themselves in without staff help.
- Get their email: Even for a casual walk-in, collecting email lets you follow up and potentially convert them to a member.
- Waiver on the drop-in product: Attach a waiver form to the drop-in product so all walk-ins sign before booking.
Need a hand?
Email our team at support@joinzipper.com and we'll usually reply within a few hours.
Was this article helpful?
Thanks for your feedback.