How to Set Up and Test Kiosk Mode
Turn a tablet or shared device into a self-service check-in station — customers can check themselves in for classes without staff involvement.
Prerequisites
- Have a tablet, iPad, or computer at the front desk
- Have a staff account to configure kiosk mode with
Configure Kiosk Mode on a Class
Kiosk Mode is set per class. Each class can be Disabled, Check-ins only, or Registrations & check-ins.
- Navigate to: Schedule > Classes (Manage Classes).
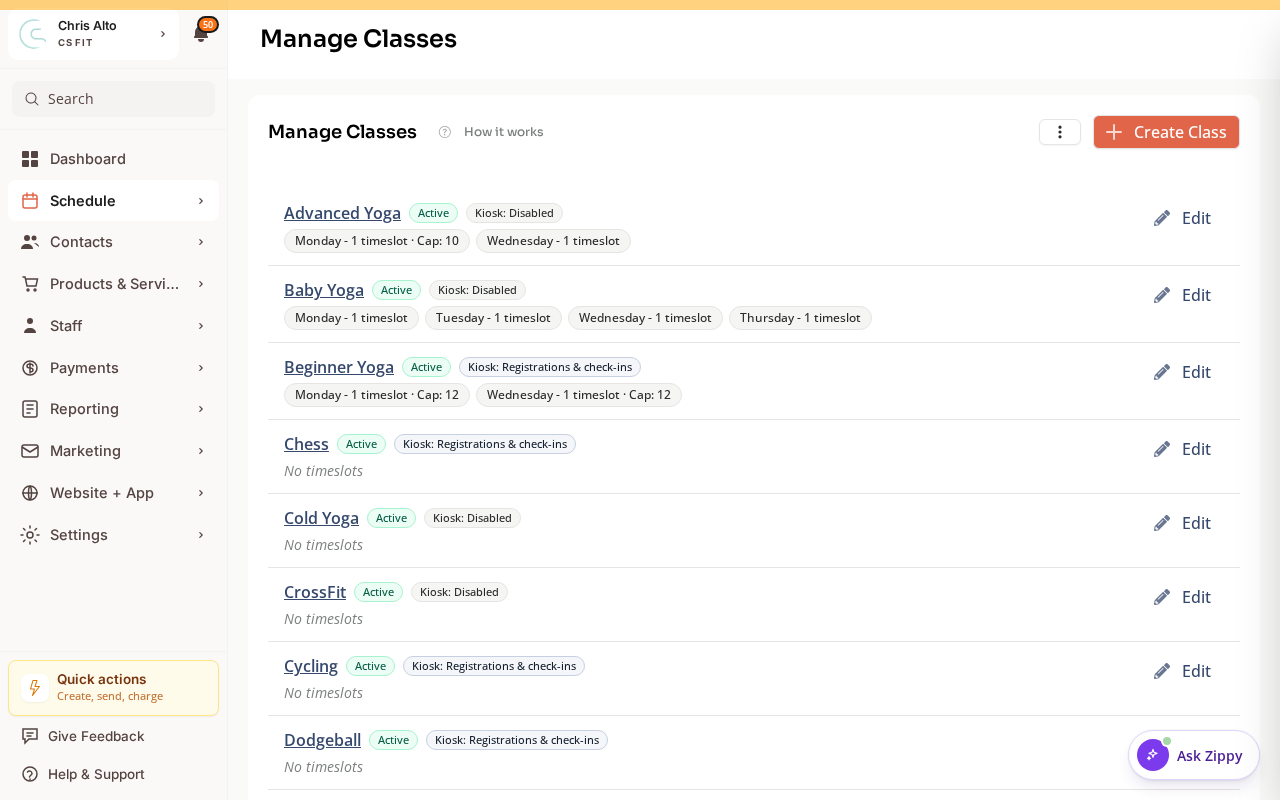
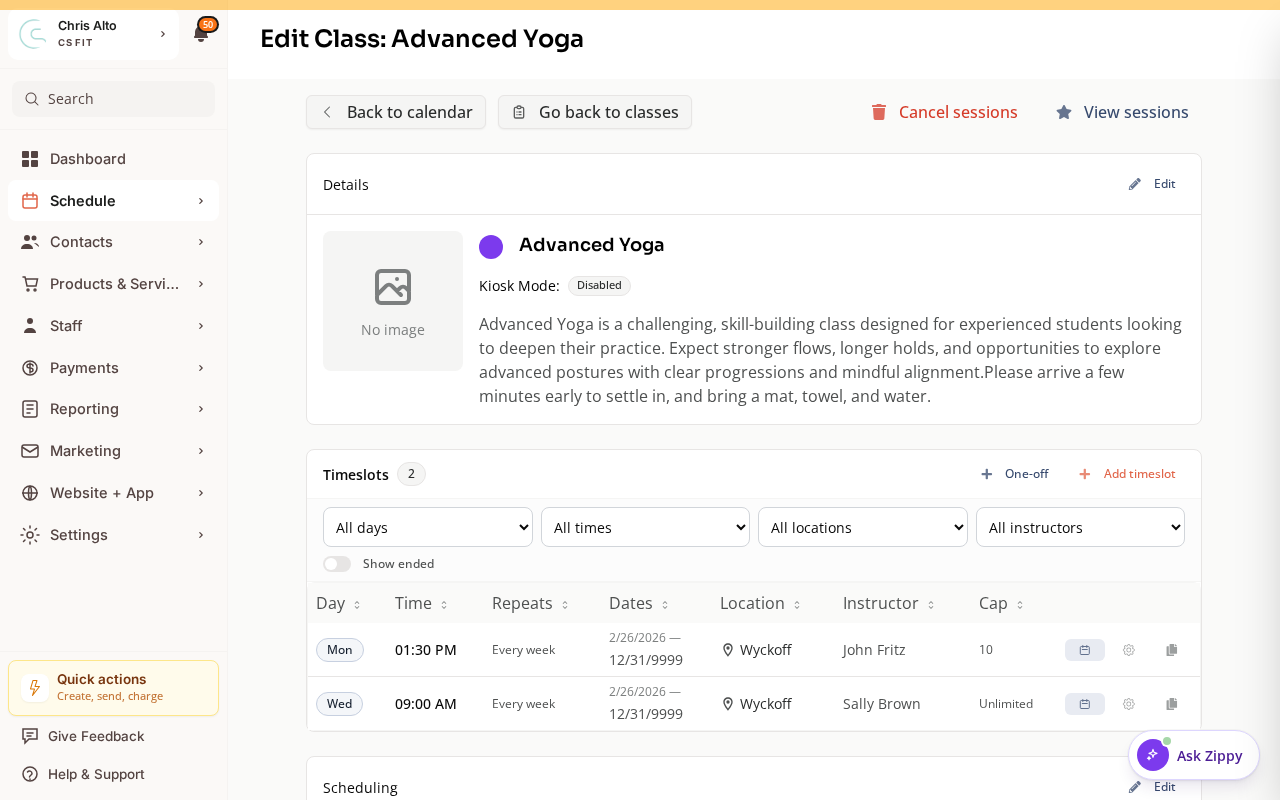
- Click Edit on a class. Its Kiosk Mode is shown in the Details card — edit it to allow check-ins, or registrations and check-ins.
Steps
Step 1: Enable Kiosk Mode on the device
- Log into Zipper on the device (tablet/computer)
- Click your profile/account menu
- Click: Enter Kiosk Mode (or similar)
Step 2: Configure kiosk settings
- Navigate to: Payments > Terminal Readers
- Set options:
- Auto-lock: timeout before returning to kiosk home
- Display: show upcoming classes, allow sign-up, etc.
- PIN protection: optional PIN to exit kiosk mode (prevents customers from accessing admin)
Step 3: Test the kiosk
- Walk through the check-in flow as a test customer: find your name or enter your email, then confirm check-in
- Verify the check-in appears in the admin calendar
Step 4: Secure the device
- Enable PIN to exit kiosk mode (if not already done)
- Set the device to auto-lock after a timeout
- Mount or position the device where customers can easily reach it
On Mobile
Kiosk mode works on iPad, Android tablets, or any modern browser — it’s a web-based mode, not a separate app.
Tips
- Staff override: The kiosk PIN lets staff exit kiosk mode to access the full dashboard when needed.
Troubleshooting
Customer can’t find their name in kiosk. Confirm they’re using the email address on their Zipper profile. They may need to create their account or their profile may be under a slightly different email.
Need a hand?
Email our team at support@joinzipper.com and we'll usually reply within a few hours.
Was this article helpful?
Thanks for your feedback.