How to Process a Walk-In With a Guest
Handle an in-person drop-in customer who brought a friend — register and charge both in one Point-of-Sale session.
Steps
-
Go to Payments > Point-of-Sale
-
For the primary walk-in:
- Select: Guest (Walk-in) if they’re not in your system, or search for their name
- Add the drop-in product for one person
- Process their payment
-
For the guest they brought:
- After completing the first checkout (or use a new Point-of-Sale session)
- Select: Guest (Walk-in) again
- Enter the guest’s name (first name is sufficient for tracking)
- Add the drop-in product
- Select payment method (the guest may pay their own way, or the primary member pays for both)
- Process payment
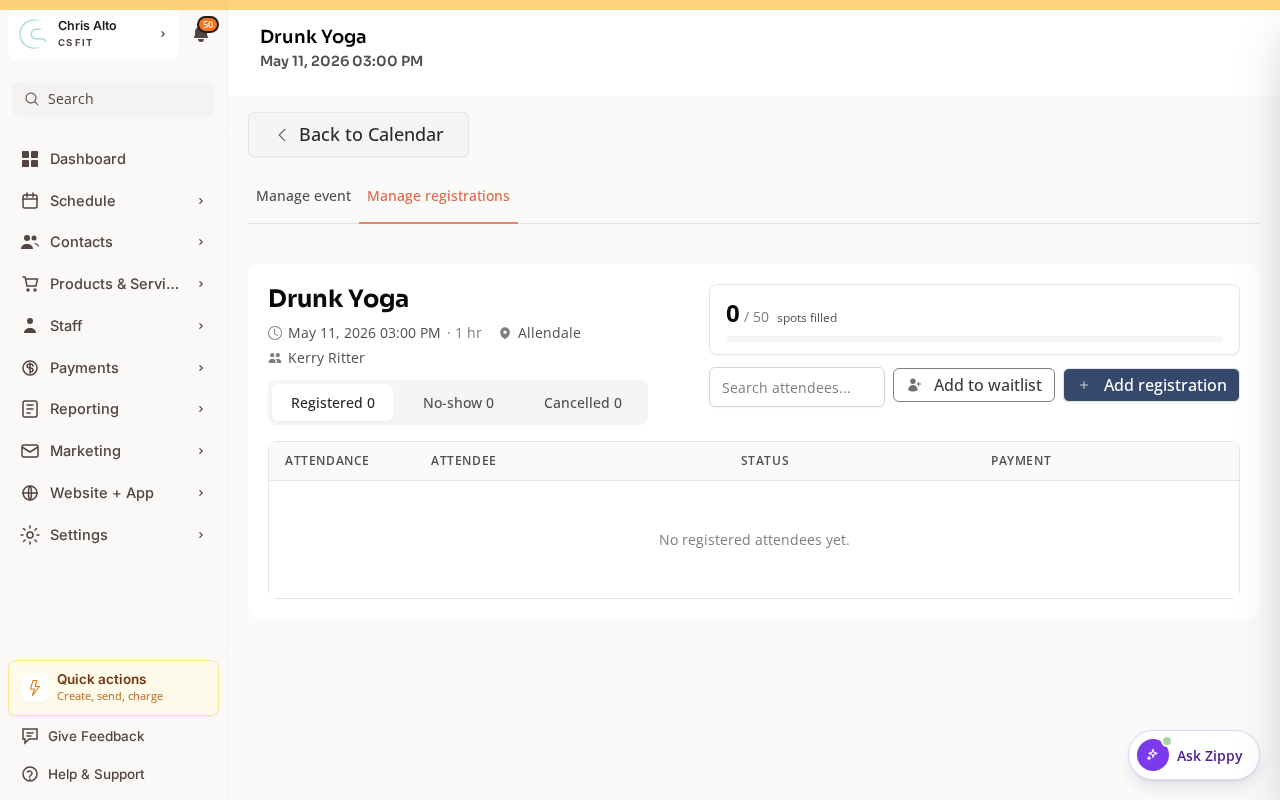
Add Them to the Class Roster
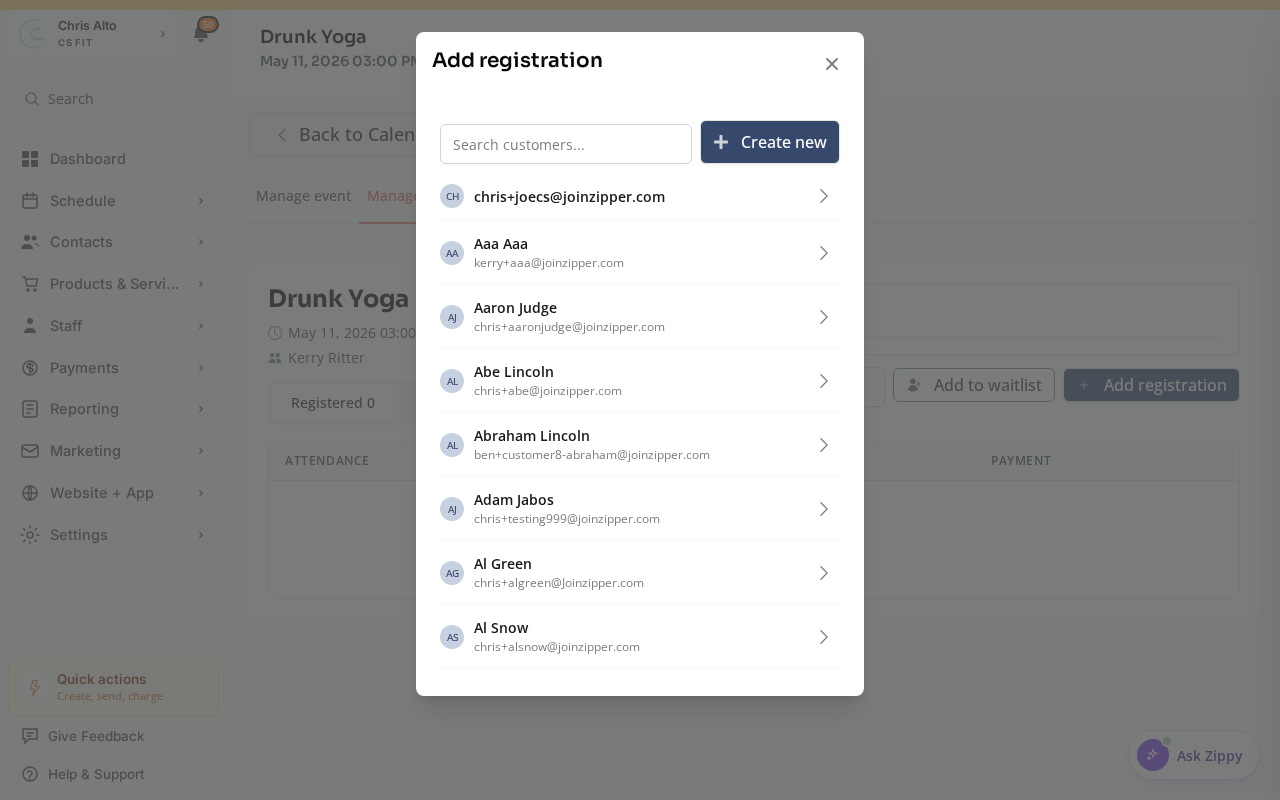
To register both the member and their guest into the class, open the class session’s Manage registrations tab and click Add registration.
Search for the member, then repeat for the guest — use Create new to add a guest who isn’t in your system yet.
Charging Both at Once
If the primary member is paying for their guest too:
- Stay in the same Point-of-Sale session after selecting the member
- Add two drop-in items (one for each person) in a single cart
- Process one payment for the total
Creating Customer Profiles
Walk-in guests get a basic customer profile when checked out:
- The name you enter creates a customer profile
- Email is optional at this stage
- They can claim a full account later if they provide their email
Tips
- Collect emails: Ask walk-ins for their email at checkout — even just the primary person. This lets you follow up and convert them to members.
- Guest liability forms: If you require waivers, attach them to the drop-in product so guests are prompted to sign during checkout.
Need a hand?
Email our team at support@joinzipper.com and we'll usually reply within a few hours.
Was this article helpful?
Thanks for your feedback.