How to Give Zipper Access to Your Domain
Connect your custom domain (e.g., yourstudio.com) to your Zipper site so customers can book at your own URL.
Steps
Step 1: Add your domain in Zipper
- Navigate to: Website + App > Domains.
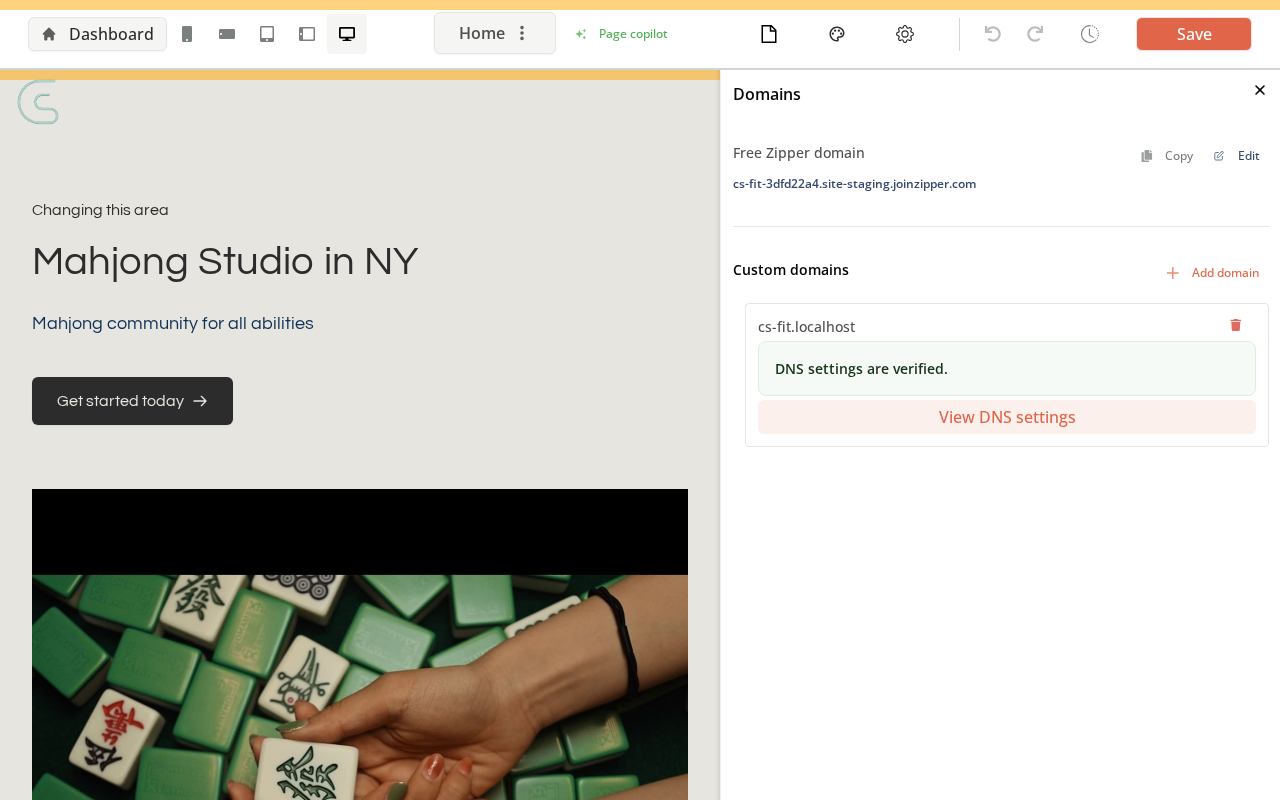
- Click Add domain, enter your custom domain (e.g.,
yourstudio.com), and save. - Zipper displays the DNS records you need — use View DNS settings to see them.
Step 2: Add DNS records at your registrar
- Log into your domain registrar (GoDaddy, Namecheap, Google Domains, Cloudflare, etc.).
- Go to DNS settings for your domain.
- Add each record exactly as Zipper specifies (type, name, value) — typically a CNAME, and possibly an A record or TXT verification record.
- Save the DNS changes.
Step 3: Wait for propagation and verify
DNS changes take 15 minutes to 48 hours to propagate. Once Zipper detects the change, the domain shows “Connected.” Return to Domain settings and click Verify to confirm.
Tips
- Start early: Do this 2–3 days before your go-live date.
- Subdomain is easiest:
booking.yourstudio.comis simpler than the root domain and less likely to conflict with an existing website.
Troubleshooting
Domain shows “Not connected” after 48 hours. Double-check that the DNS record values match exactly what Zipper specified — even a small typo prevents connection. Contact Zipper support with your domain and registrar name for help diagnosing.
Need a hand?
Email our team at support@joinzipper.com and we'll usually reply within a few hours.
Was this article helpful?
Thanks for your feedback.