How to Do a One-Off Event With a Custom Form
Set up a standalone event that requires registrants to fill out a custom form — useful for workshops, challenges, or special events with intake requirements.
Steps
Step 1: Create the form (if not already done)
- Go to Products & Services > Forms
- Click: New Form
- Add your fields (name, emergency contact, health history, waiver, etc.)
- Save the form
Step 2: Create the event
- Go to Schedule > Events.
- Click: Create, then choose One-Off Session (a standalone event) — or Event.
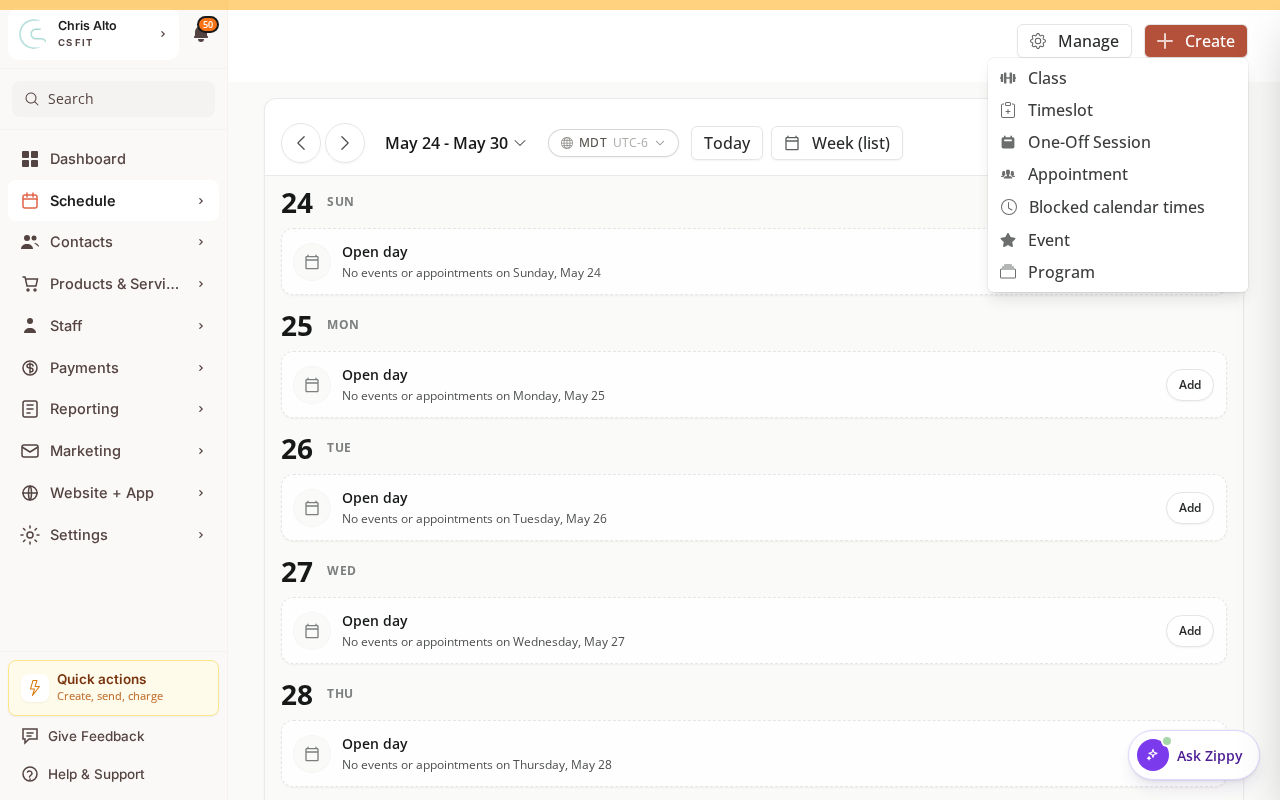
- Fill in name, date, time, location, description, pricing, capacity, and registration window.
Step 3: Attach the form to the event
- In the event creation form, find the Forms or Registration section
- Click: Attach form
- Select the form you created in Step 1
- Set trigger: Before registration (customer must complete before registering)
- Save the event
Step 4: Publish
- Confirm the event is published and the registration window is open
- Share your event registration link
Tips
- One event, one form: Create a specific form for this event rather than reusing a generic intake form — it keeps responses organized.
- View responses: Form responses appear on each registrant’s customer profile in CRM → Forms tab.
Troubleshooting
Form isn’t appearing during registration. Check: (1) the form is attached to the event, (2) the trigger is set to “Before registration”, (3) the event is saved after attaching the form.
Need a hand?
Email our team at support@joinzipper.com and we'll usually reply within a few hours.
Was this article helpful?
Thanks for your feedback.