How to Customize and Send Your Migration Announcement Email
Let your members know you're switching to Zipper — before launch day.
When to Send It
Send the announcement 1–2 weeks before your go-live date. This gives members time to:
- Create their Zipper account
- Get familiar with the new booking experience
- Transfer any remaining credits or bookings to the new system
What to Include
A good migration announcement email covers:
- The switch: “We’re moving to Zipper for booking and membership management”
- Go-live date: “Starting [date], all bookings will be through our new system”
- What they need to do: “Check your email for an invite to set up your Zipper account”
- What stays the same: Their membership, credits, and booking history are transferred
- Where to book after launch: Include your Zipper booking URL
- Who to contact with questions: Support email or phone
Using Zipper’s Email Campaign Tool
- Go to Marketing > Email, then click Create email.
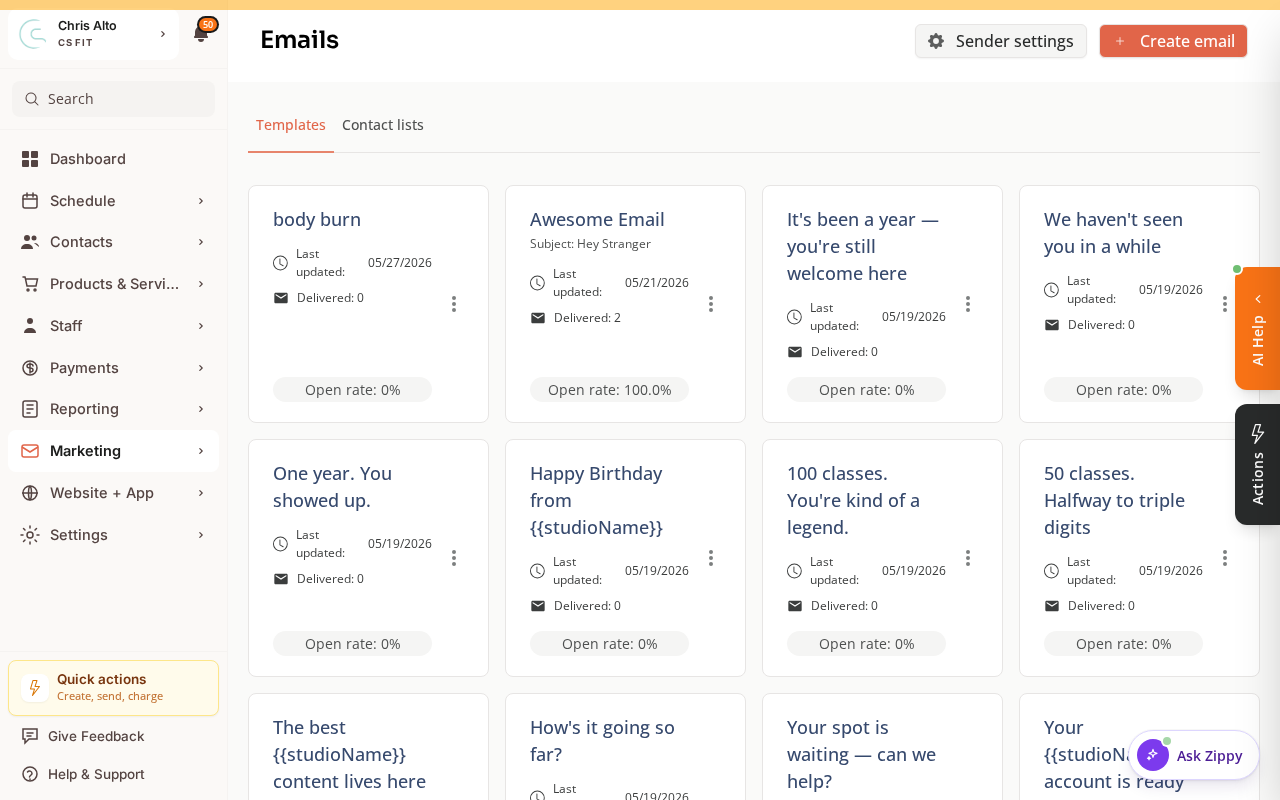
- The builder opens as a wizard — Design Email → Choose Recipients → Review → Send. Write your announcement on the first step.

- On Choose Recipients, select your full customer contact list.
- Customize the email with your studio’s voice and specific details
- Preview and send a test to yourself
- Schedule or send the campaign
Tips
- Personalize with member names: Use
{{first_name}}so each member gets a personalized greeting. - Include the Zipper booking URL prominently: Make it easy for members to find and bookmark.
- Send a reminder: 3–5 days before launch, send a shorter reminder: “We launch on [date] — are you set up yet?”
Troubleshooting
Low open rates on the announcement email. Follow up with an SMS campaign to members who didn’t open the email. Or post on social media and hang a flyer in the studio.
Need a hand?
Email our team at support@joinzipper.com and we'll usually reply within a few hours.
Was this article helpful?
Thanks for your feedback.