How to Configure Your Business Settings
Set up your studio's core information: business name, address, timezone, contact details, and branding.
Steps
- Navigate to: Settings > Organization Settings. The Company details tab holds your core business information.
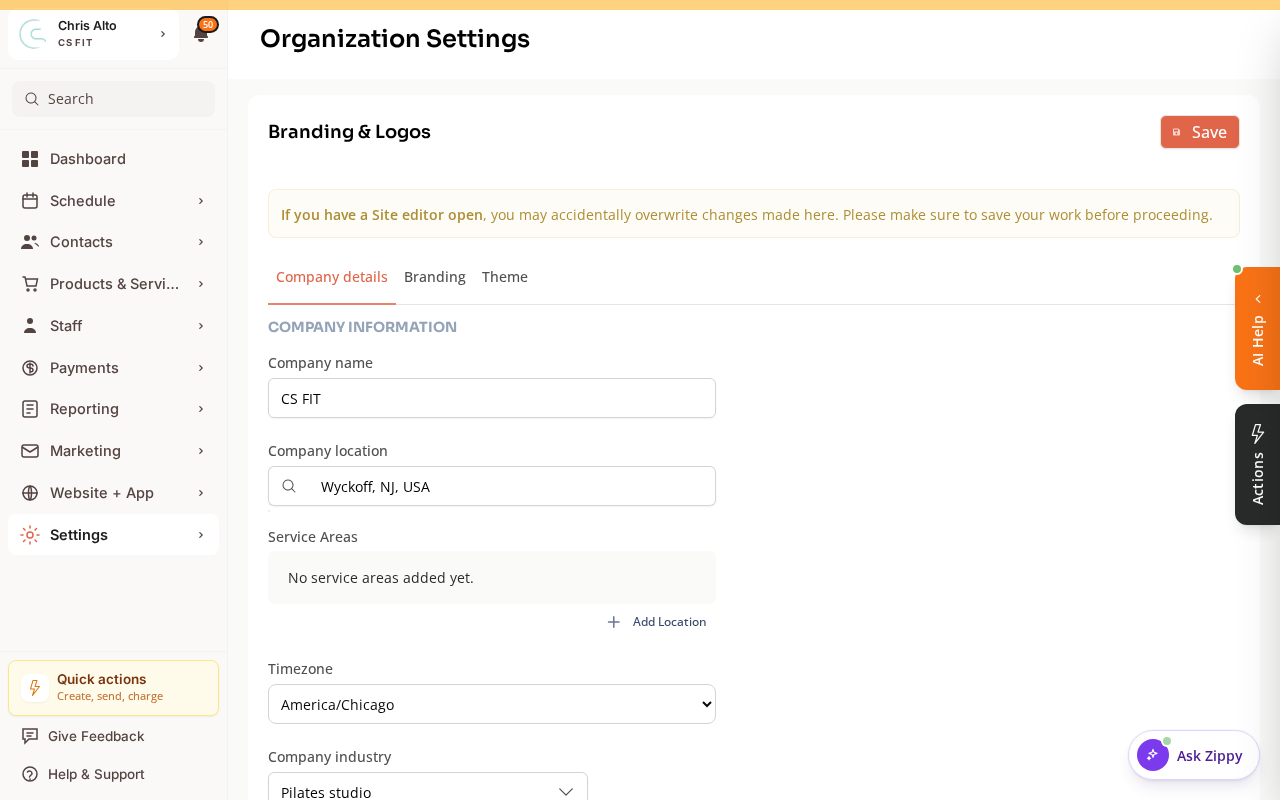
- Update the following:
Business Information
- Business name — appears in emails, notifications, and the customer app
- Address — used for location display and Google integration
- Phone number — contact number shown to customers
- Email address — business contact email
- Website URL — your main website URL
Timezone
- Timezone — critical for class scheduling, appointment times, and all date/time displays
- Set this to your studio’s local timezone before creating any classes or appointments
Branding
- Logo — upload your logo (appears in the customer app and emails)
- Brand colors — primary color used throughout the customer-facing experience
Switch to the Branding tab to upload logos and set colors:
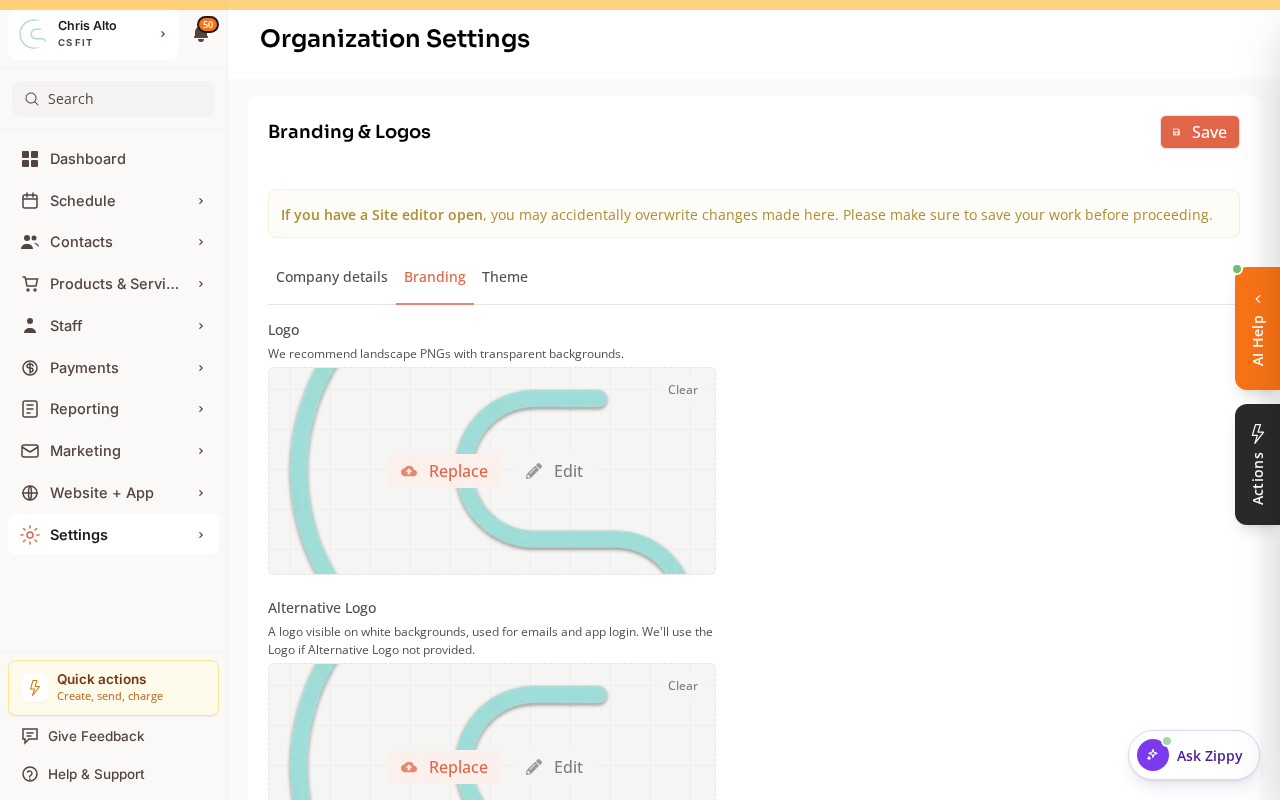
- Click: Save
Tips
- Set timezone first: If you change the timezone after creating classes, the display times may shift. Set it correctly from the start.
- Logo dimensions: Use a square or landscape logo at least 512×512px for best quality across all contexts.
Troubleshooting
Business name updated but still showing the old name in some places. Clear your browser cache and refresh. Some areas cache business info for performance — changes propagate within a few minutes.
Need a hand?
Email our team at support@joinzipper.com and we'll usually reply within a few hours.
Was this article helpful?
Thanks for your feedback.