How to Configure Late Cancel and No-Show Settings
Late cancel and no-show settings are configured per class and per appointment type. There are no org-wide defaults.
For Classes and Events
Step 1: Open the class in Calendar
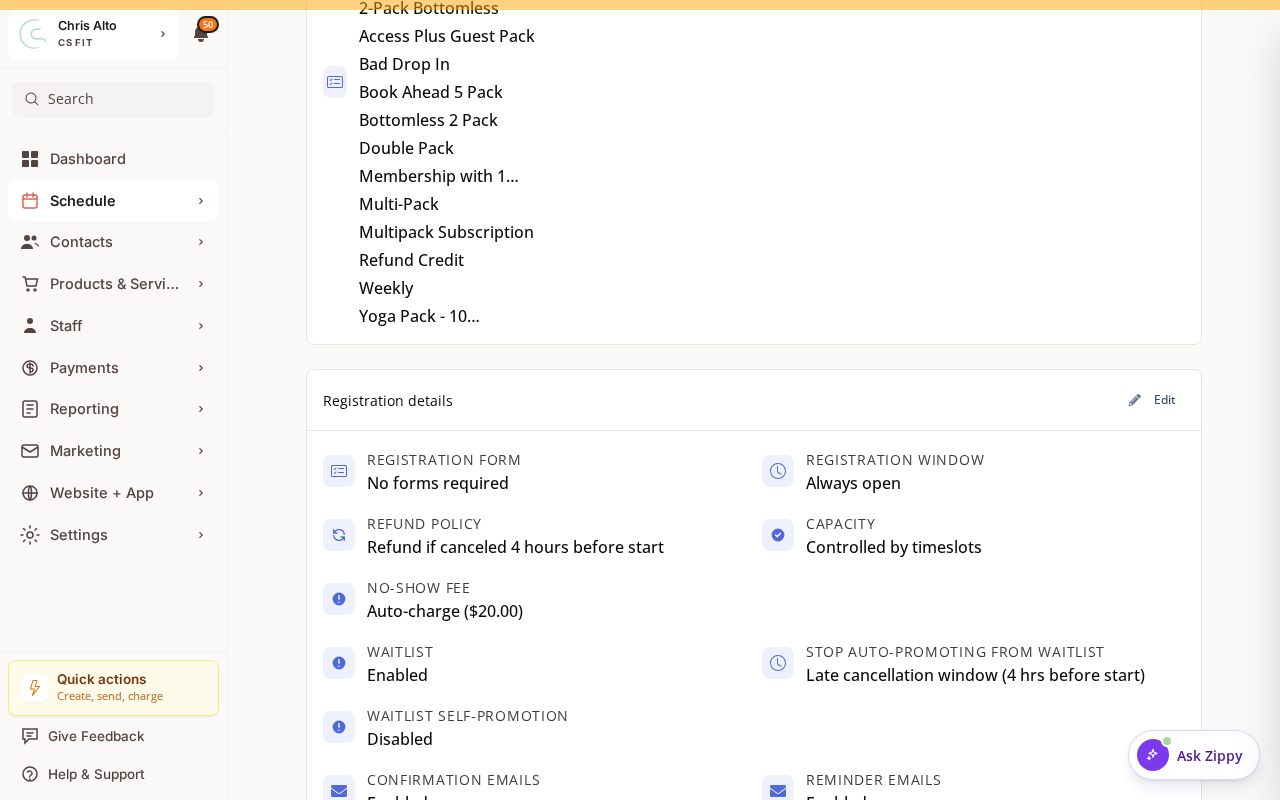
- Navigate to: Schedule > Classes, then Edit the class. The Registration details card shows the Refund policy (cancellation), No-show fee, registration window, and waitlist rules. Click Edit on that card to change them.
Step 2: Set late cancellation handling
Find Late cancellation handling. Choose one of three options:
- Always return credit — credits are always returned regardless of when the customer cancels. No cutoff, no fee.
- Do not return credit for late cancellations — customer loses their credit if they cancel late. No fee charged.
- Automatically charge a fee for late cancellations — customer gets their credit back, but a cancellation fee is charged. Reveal two sub-fields:
- Refund cutoff: How far before class start the window closes (options: 2h, 4h, 6h, 8h, 12h, 24h, 3 days, 7 days)
- Cancellation fee amount: Dollar amount to charge
Step 3: Set no-show handling
Find No-show handling. Options:
-
No action — no fee, no credit impact
-
Do not return credit — customer loses their credit for no-shows
-
Automatically charge a no-show fee — charge a specific dollar amount for no-shows
-
Save the settings
For Appointment Types
Step 1: Open the appointment type and set fees
- Navigate to: Schedule > Appointments → open the appointment type to edit
- Set the Cancellation window (how far in advance customers can cancel free)
- Set the Late cancel fee amount (if charging)
- Set the No-show fee amount (if charging)
- Save
On Mobile
Same settings — class and appointment configuration works on mobile browser.
Tips
- Test your settings before going live: make a test booking and cancel it late (or mark a test no-show) to verify the fee fires correctly.
- Communicate the policy to members: Include cancellation policy details in your class descriptions and confirmation emails so members aren’t surprised.
Troubleshooting
The cancellation fee isn’t appearing. Check: (1) you selected “Automatically charge a fee” (not “Do not return credit”), (2) the class was saved after the change, (3) the cancellation actually happened after the cutoff time.
No-shows aren’t being charged. Confirm the no-show setting is set (not “No action”) and that the session was ended/closed — Zipper checks for no-shows after the session ends.
Need a hand?
Email our team at support@joinzipper.com and we'll usually reply within a few hours.
Was this article helpful?
Thanks for your feedback.