How to Change Capacity for a Single Class Session
Override the class capacity for one specific date without changing the entire recurring series.
Steps
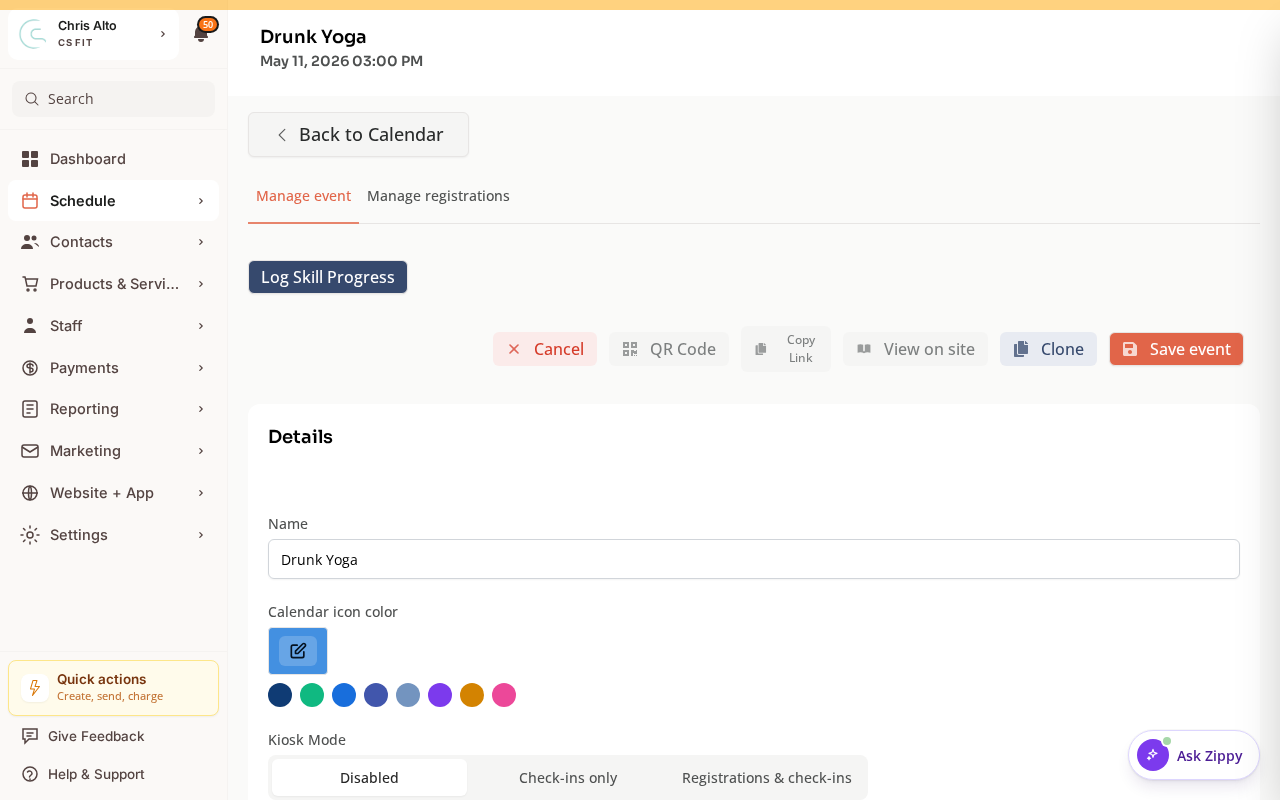
Step 1: Open the class session
- Navigate to: Schedule > Calendar and click the specific session date. Its Manage session view opens with that session’s details and capacity.
Step 2: Open the capacity/schedule change for that session
- Look for an Edit option or a Capacity section on the session detail
- Find the option to add a Schedule Change or Override for this session
Step 3: Set the new capacity
- Find the Limit registration capacity toggle
- Toggle: On
- Enter: the new max registration number
- Set the date range to just this session (set both start and end date to the same date)
- Save
How It Works
Capacity in Zipper is set per timeslot but can be overridden per session. When you set a date-range override limited to a single day, only that one session’s capacity changes. The underlying class timeslot settings remain the same for all other sessions.
On Mobile
Same steps — session editing works on mobile browser.
Troubleshooting
I don’t see a capacity override option on the session. Look for a “Schedule Change” or “Override” section — it may not be labeled “capacity” directly. If the class was created without the capacity module enabled, you may need to edit the class settings first to turn on registration limits.
I changed capacity but the session still shows the old limit. Confirm the date range was set exactly to the session date (not a future-only range). Also try refreshing — changes take effect immediately but the page may need a refresh.
Need a hand?
Email our team at support@joinzipper.com and we'll usually reply within a few hours.
Was this article helpful?
Thanks for your feedback.