How to Give Staff Free Class Access
Learn how to set up a standing free product for staff (best for recurring access), or register a specific staff member right now with no charge (best for one-off).
Which method should I use?
| Use a free staff product when… | Use calendar registration when… |
|---|---|
| Staff regularly attend classes free | You need to add one staff member now |
| You want a policy-level arrangement | It’s a one-time or occasional thing |
Method A: Set Up a Free Staff Product (on-going bookings)
Create a $0 product and assign it to staff. They can book using this product — no charge ever.
Step 1: Create a free ($0) credit pack or membership
- Navigate to: Products & Services → Manage Plans
- Click: Create product
- Choose product type (e.g., booking credits with 100 credits, or unlimited monthly membership)
- Name it something clear: “Staff Classes” or “Instructor Access”
- Set the price to $0
- Ensure “Show in Customer App” is toggled OFF
- Enable appropriate Booking Credits
- Click: Save
Step 2: Assign the product to the staff member
- Navigate to: Contacts → Customers, find the staff member → open their profile
- Click: Billing & Payments → Issue New Booking Credits
- Select the free staff product
- The price shows $0 — click Add Credits
- The product has been added to their account; they can book classes at no charge
Method B: Register a Staff Member in a Specific Class (No Charge)
From the calendar, you can add a staff member to a class without charging them — even if they don’t have a product that covers it.
Step 1: Open the class in Calendar
- Navigate to: Schedule → Calendar
- Click on the class you want to add them to
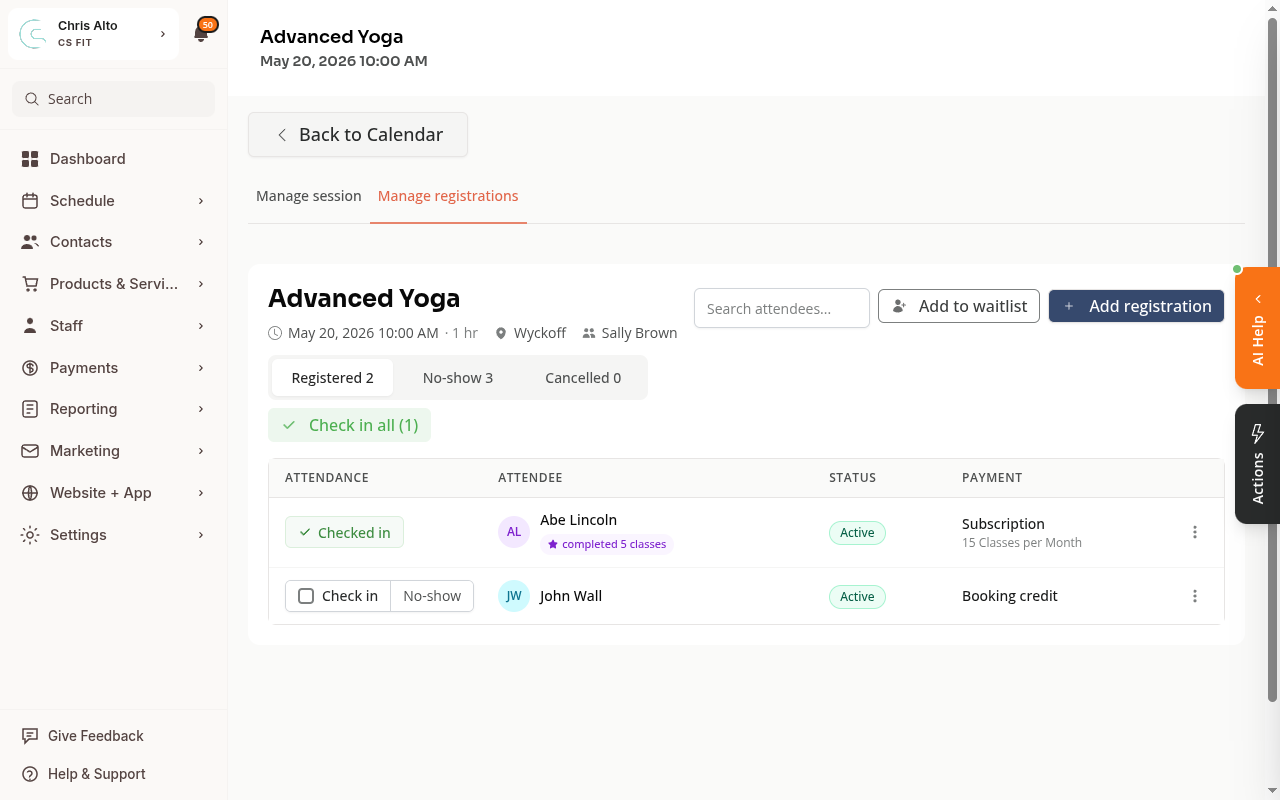
Step 2: Click Add registration
- Click: Add registration (top right of the registrant list)
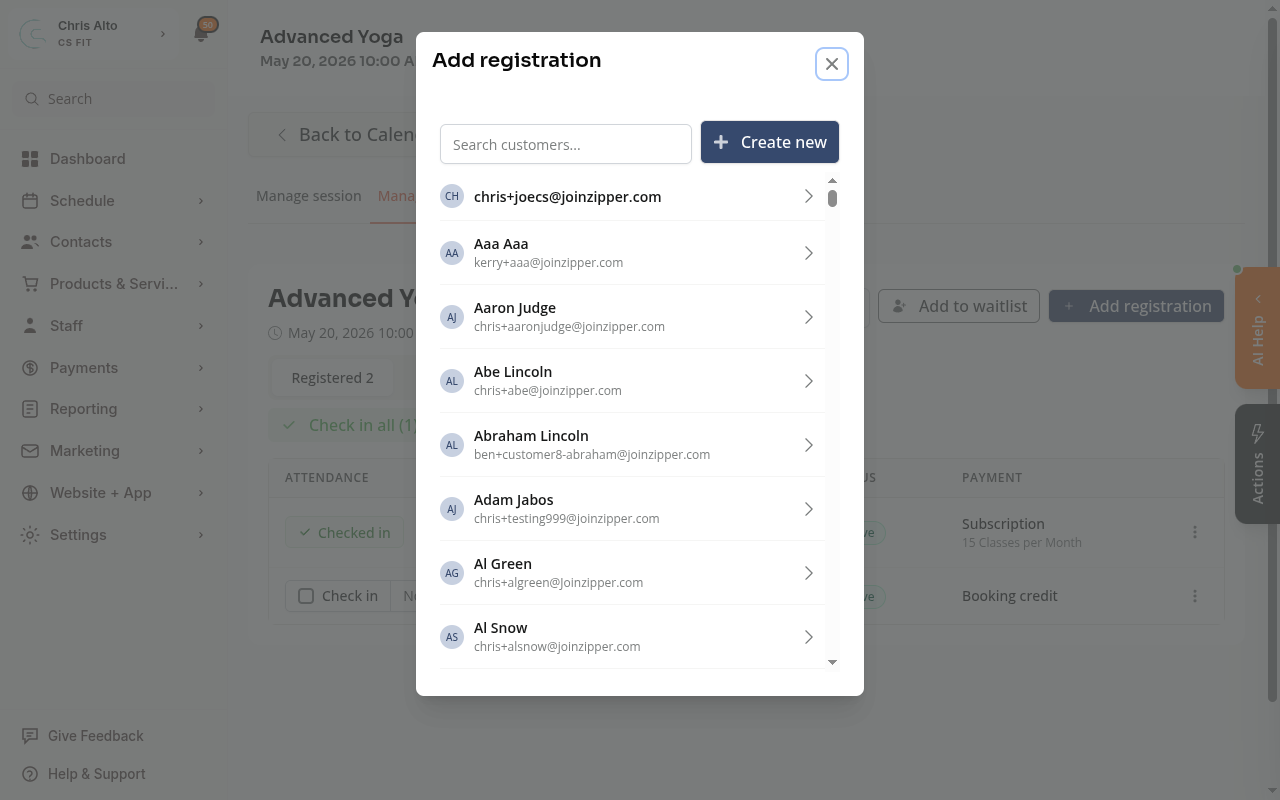
Step 3: Select the staff member
- Click the staff member’s name from the list
Step 4: Select “Add registration without payment”
- Under Payment Options, select Add registration without payment
- This is a manual override — no credits or charges are used
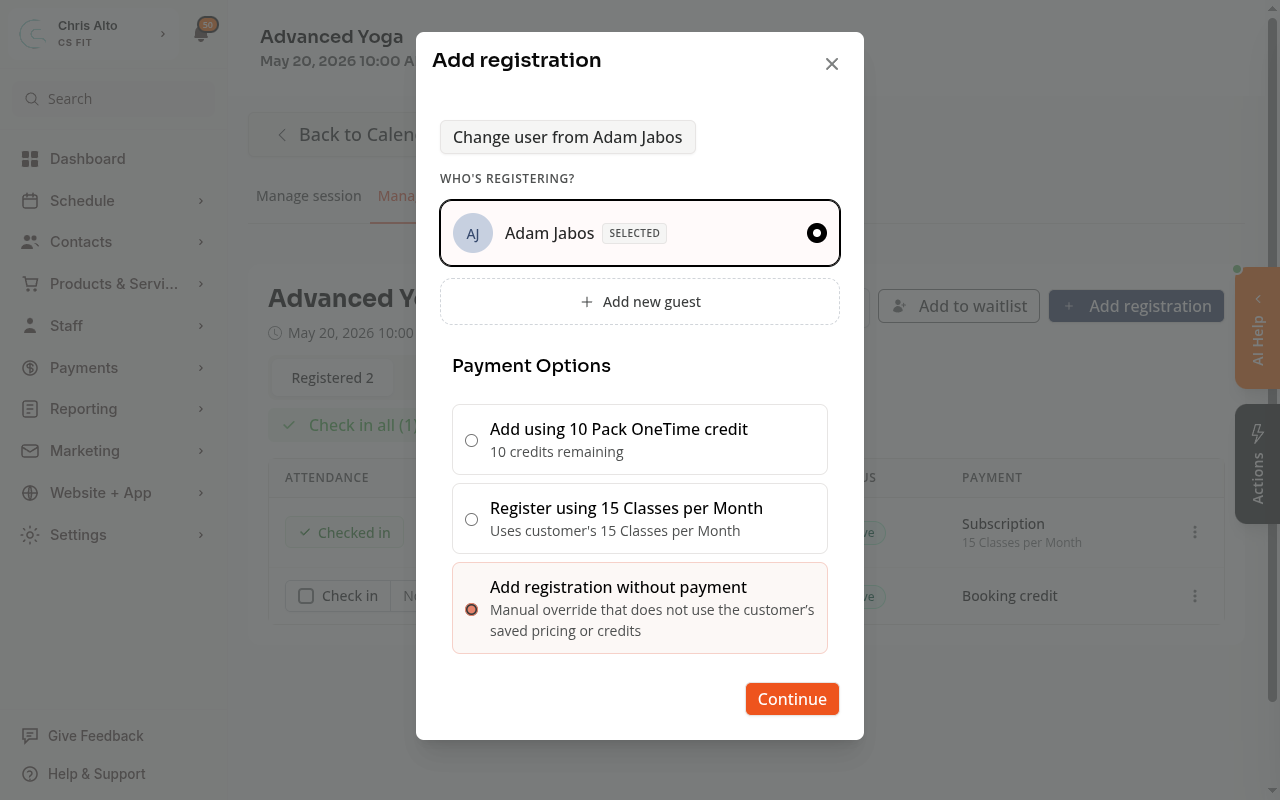
- Click: Continue
On Mobile
Both methods work on mobile. Navigate via the hamburger menu to Schedule for the calendar approach, or Contacts for the staff product approach.
Tips
- Method A vs. Method B: Method A is better for ongoing policy — staff always attend free. Method B is a one-time admin override, best for exceptions.
- Want staff to self-book?: If you use Method A with a $0 product, staff can book themselves through the app. With Method B, an admin must add them each time.
Troubleshooting
“Add registration without payment” isn’t appearing. This option appears after you select a customer in the Add registration modal. Make sure you’ve clicked a name from the list first before looking for payment options.
Staff member can’t see the class when self-booking. If they’re using a staff product (Method A), confirm they have the product on their account (Contacts → their profile → Billing & Payments). Also confirm the class accepts the product type.
Need a hand?
Email our team at support@joinzipper.com and we'll usually reply within a few hours.
Was this article helpful?
Thanks for your feedback.