How to add a Zipper Product to Your Zipper Website
Add a Zipper Product to your website by creating it in Products, then swapping it into a Pricing block on your site so edits sync automatically.
How to add a Zipper Product to Your Zipper Website
Here is how to add a Zipper Product to your website.
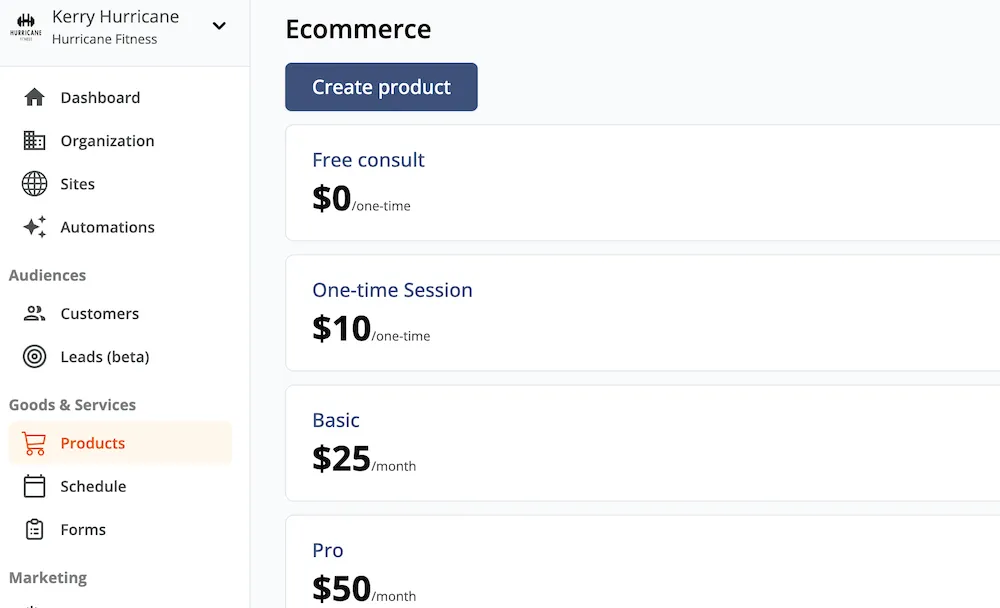
1. Create a product
Go to Products & Services > Manage Plans and click Create Product.
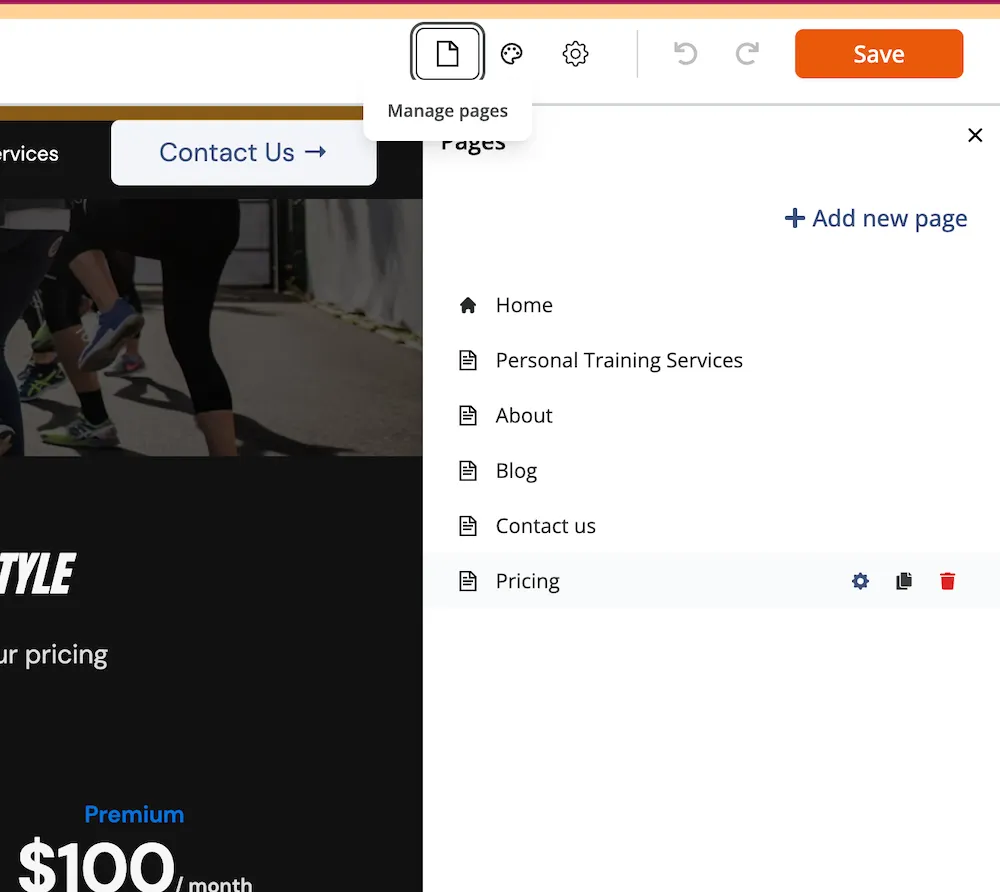
2. Open the page on your site
Go to Website + App > Site Editor and click your site. Select the page you’d like to add the product to from Manage Pages in the top right.
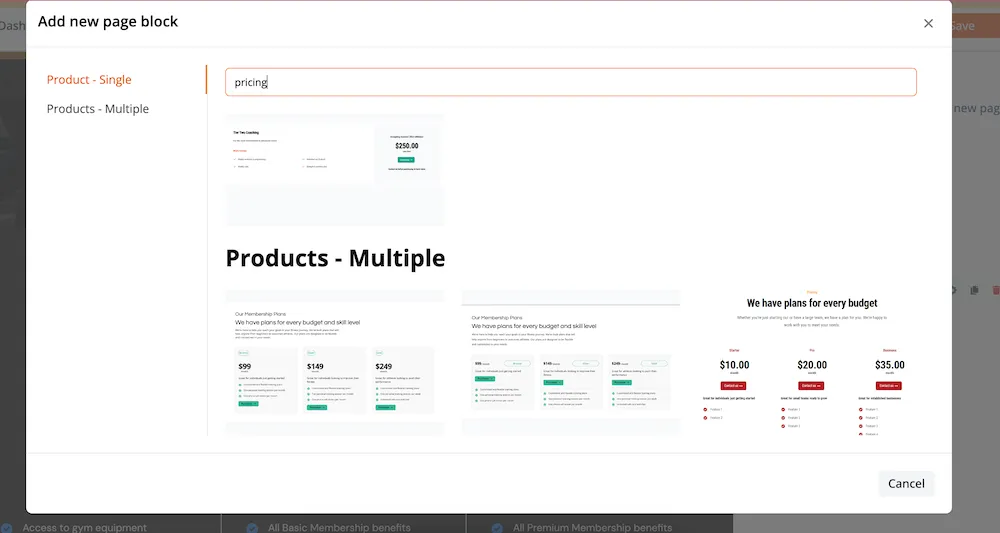
3. Add or edit a Pricing block
Select Add Block in your desired area of the page, type Pricing into the block search field, and select your desired block style. If you already have a Pricing block, hover over it and click Edit Block.
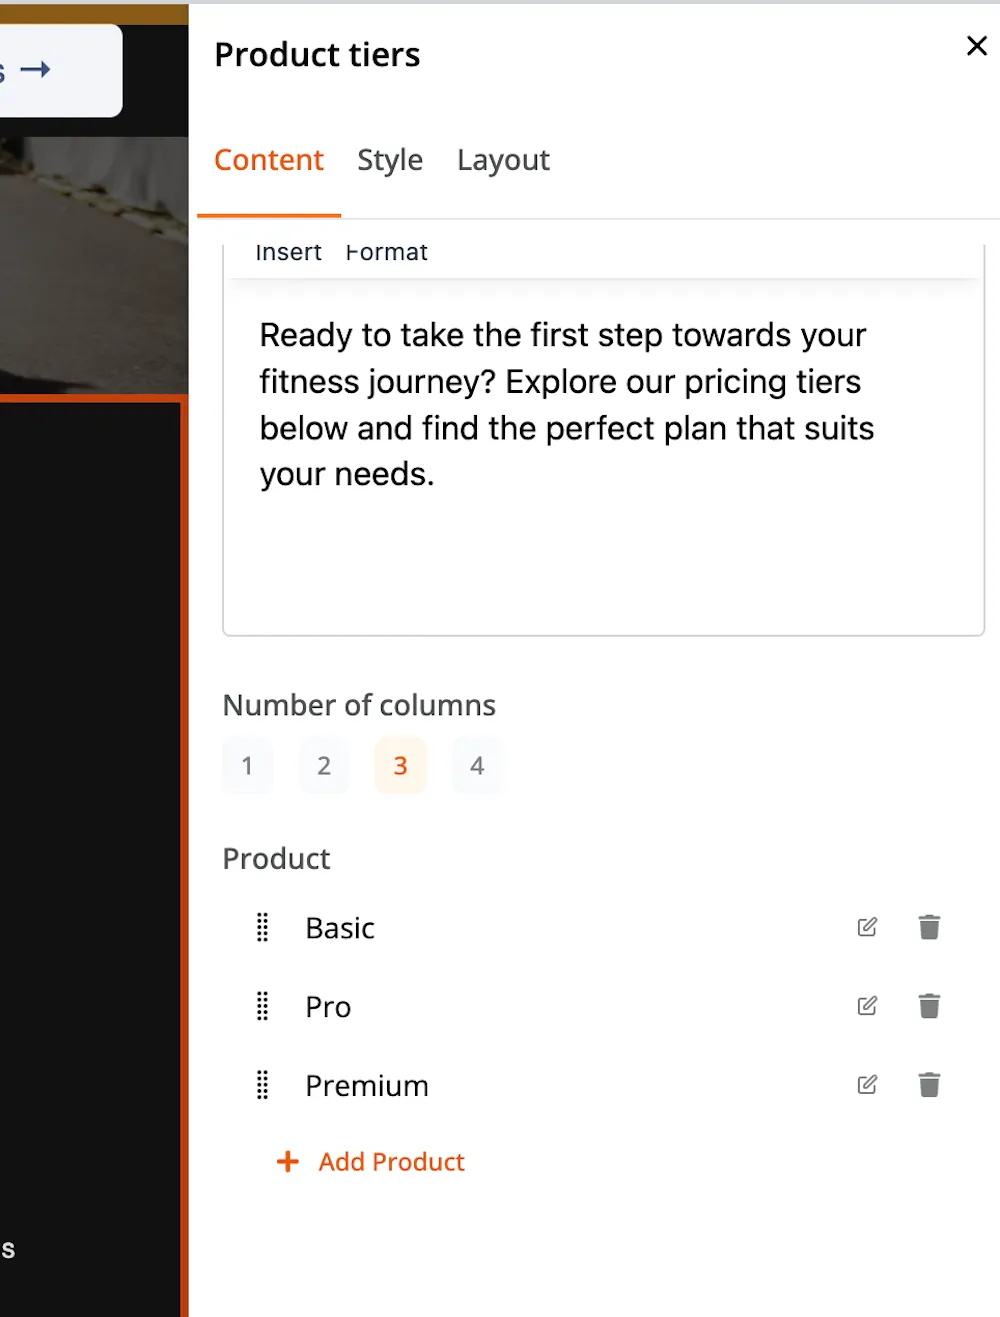
4. Open the Content panel
In the right sidebar, click Content. Scroll to the bottom and click the pencil icon next to a product to swap it, or click +Add Product to add a new one.
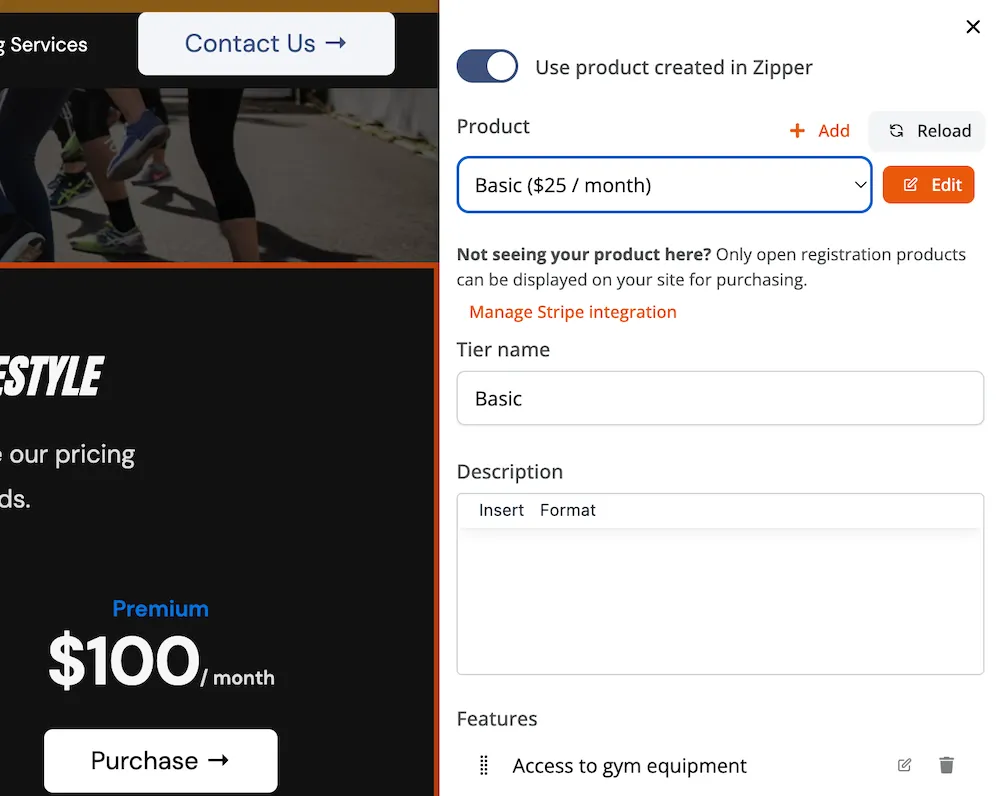
5. Toggle “Use product created in Zipper”
Toggle Use product created in Zipper and select the desired product. Save and Publish your site from the top right hand corner.
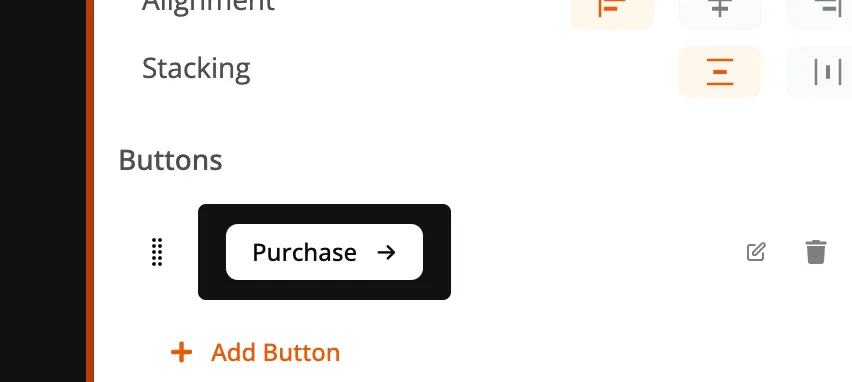
6. Confirm the Button action
Make sure the Button leads to the desired action — purchasing the product outright or linking to another page like Contact Us.
Edits to the product’s pricing or description will automatically be reflected on your site.
Need a hand?
Email our team at support@joinzipper.com and we'll usually reply within a few hours.
Was this article helpful?
Thanks for your feedback.