How to Add a Single-Use Credit to a Profile
Manually add one Booking Credit to a customer's account — for a comp, makeup session, or correction — without going through the checkout flow.
Steps
If the customer already has a booking credits for the product type
- Navigate to: Contacts > Customers, find the customer → click their name
- Click the Billing & Payments tab and find Booking Credits.
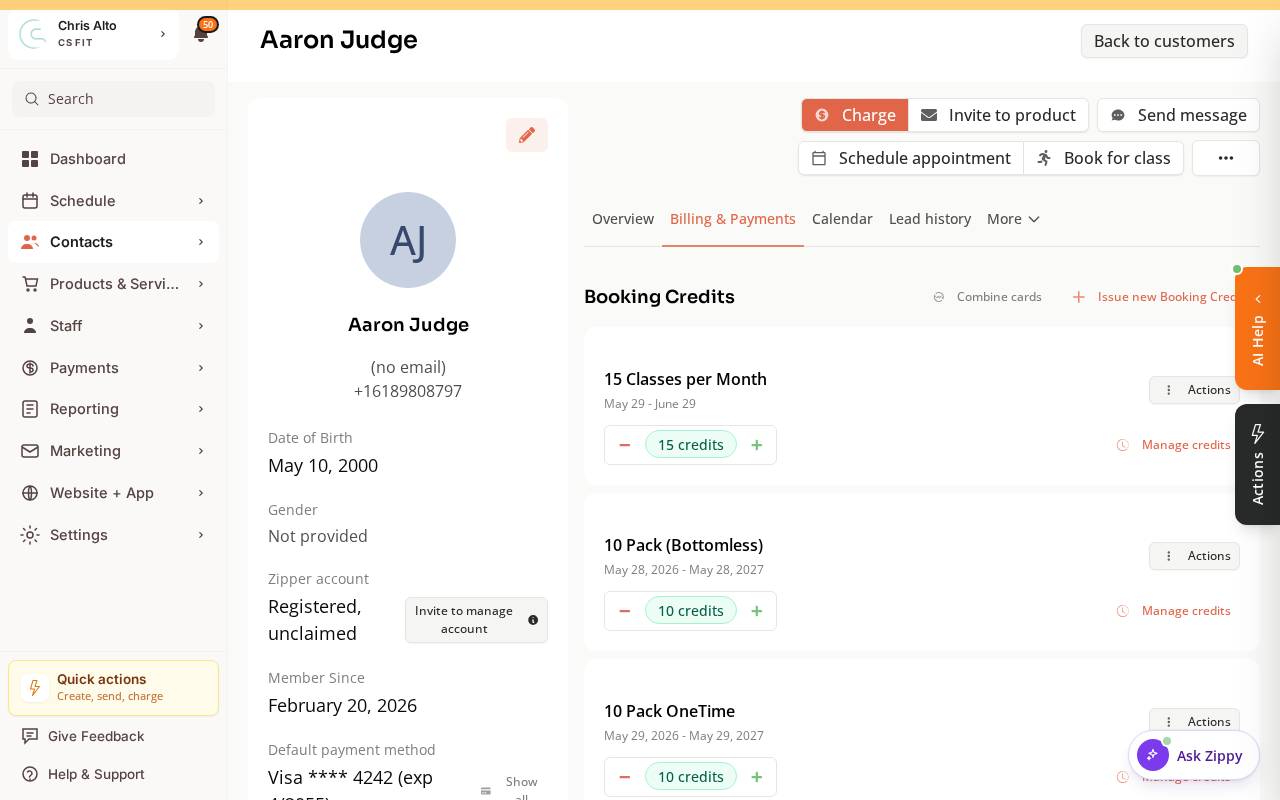
- On the relevant punch card, click the + button to add a single credit (or Issue new Booking Credits to add a package).
- In the modal:
- Credits: Enter
1(or however many to add) - Purchase price: Enter
$0(free credit — no charge) - Reason: Select the reason (e.g., Goodwill Credit, Refund, Other)
- Expiration: Set if applicable
- Credits: Enter
- Click: Add credits
If the customer has no existing booking credits for this product type
- Open the customer’s Billing & Payments tab
- Click: Issue new Booking Credits
- In the modal:
- Product: Select the product type the credit applies to
- Credits: Enter
1 - Purchase price: Enter
$0
- Click: Add credits
Tips
- $0 price = no charge: The $0 price tells Zipper no payment was taken. The credit is logged as a free/comped credit.
- Internal note: Use the note field to document why the credit was added (e.g., “makeup for canceled class 5/12”). This helps future staff understand the billing history.
Troubleshooting
I can’t find the product in the “Issue new Booking Credits” dropdown. Only active booking credits products appear here. If the product is archived or not set up as a booking credits type, it won’t show. Create or restore the product first.
Need a hand?
Email our team at support@joinzipper.com and we'll usually reply within a few hours.
Was this article helpful?
Thanks for your feedback.