How Instructors Block Their Own Availability
Instructors can add time off to their own availability schedule directly — vacations, holidays, personal time — without needing an admin to do it.
Prerequisites
- Instructor must have a Zipper staff account with permission to edit their own availability
Steps
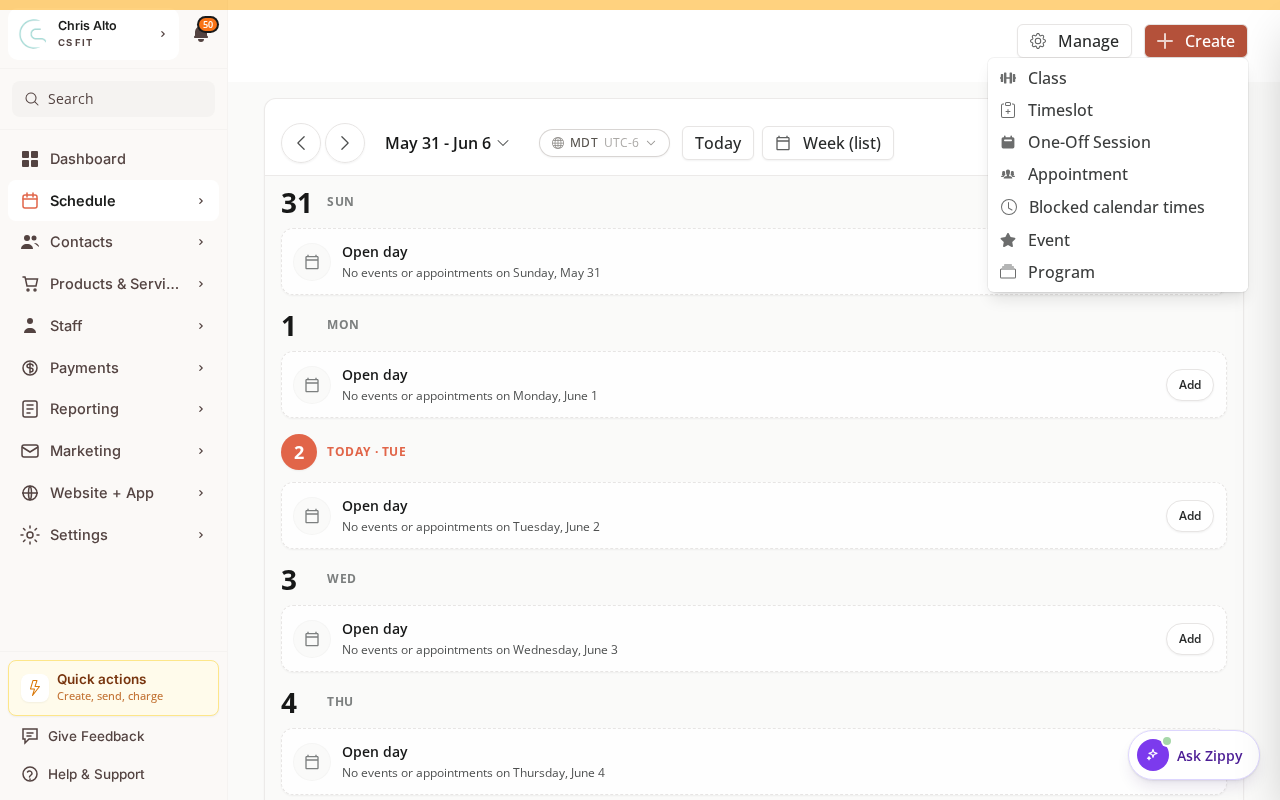
Step 1: Open the scheduling calendar
- Log in to your Zipper staff account and go to Schedule > Calendar.
- Click Create, then choose Blocked calendar times.
Step 2: Choose whose schedule to block
- In the Block schedule window, select your own schedule (admins can select any provider). Add an optional Title and Color.

Step 3: Set the time blocks
- Under Time blocks, click Add time to block and set the start/end of each blocked window.
- Click Create blocked time. The block appears on the calendar and clients can’t book that window.
What Happens to Existing Bookings
Blocking availability does not automatically cancel existing bookings. Cancel or reschedule any conflicting appointments manually — Zipper warns you of conflicts when you set the block.
Admin Alternative
Admins can block on behalf of an instructor via Schedule > Calendar → the instructor’s availability schedule, using the same steps.
See also: How to Block Out Specific Dates or Times (admin version, covers studio-wide blocks and holidays).
Troubleshooting
Blocked a date but clients can still book? Refresh and confirm the block appears in the availability calendar. If not, there may be a permissions issue — contact your admin.
No option to manage availability? Your account may lack the permission. Ask your studio admin to grant access or set the block on your behalf.
Need a hand?
Email our team at support@joinzipper.com and we'll usually reply within a few hours.
Was this article helpful?
Thanks for your feedback.