Automation Emails Overview: What's Available
Zipper's automation builder lets you set up workflows that send emails, texts, and notifications automatically based on customer actions or time-based triggers. Here's a full reference of what's available.
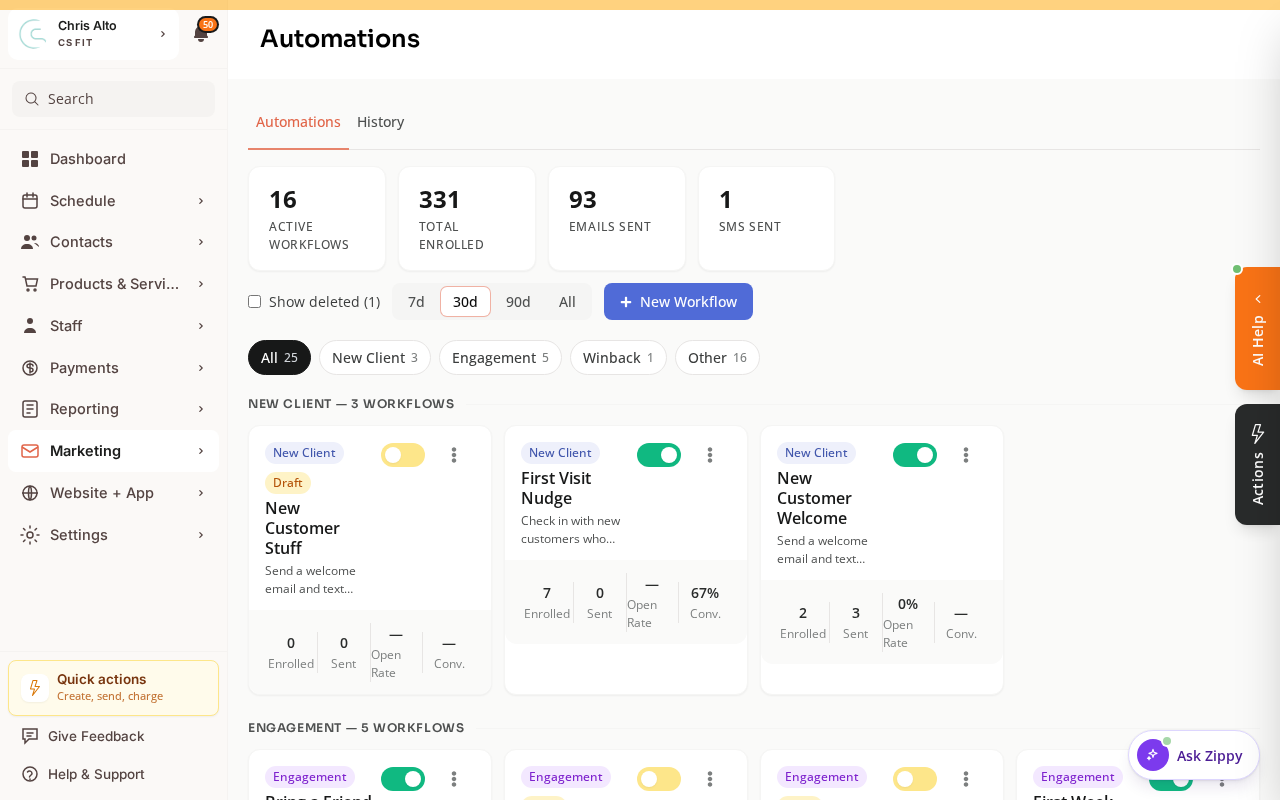
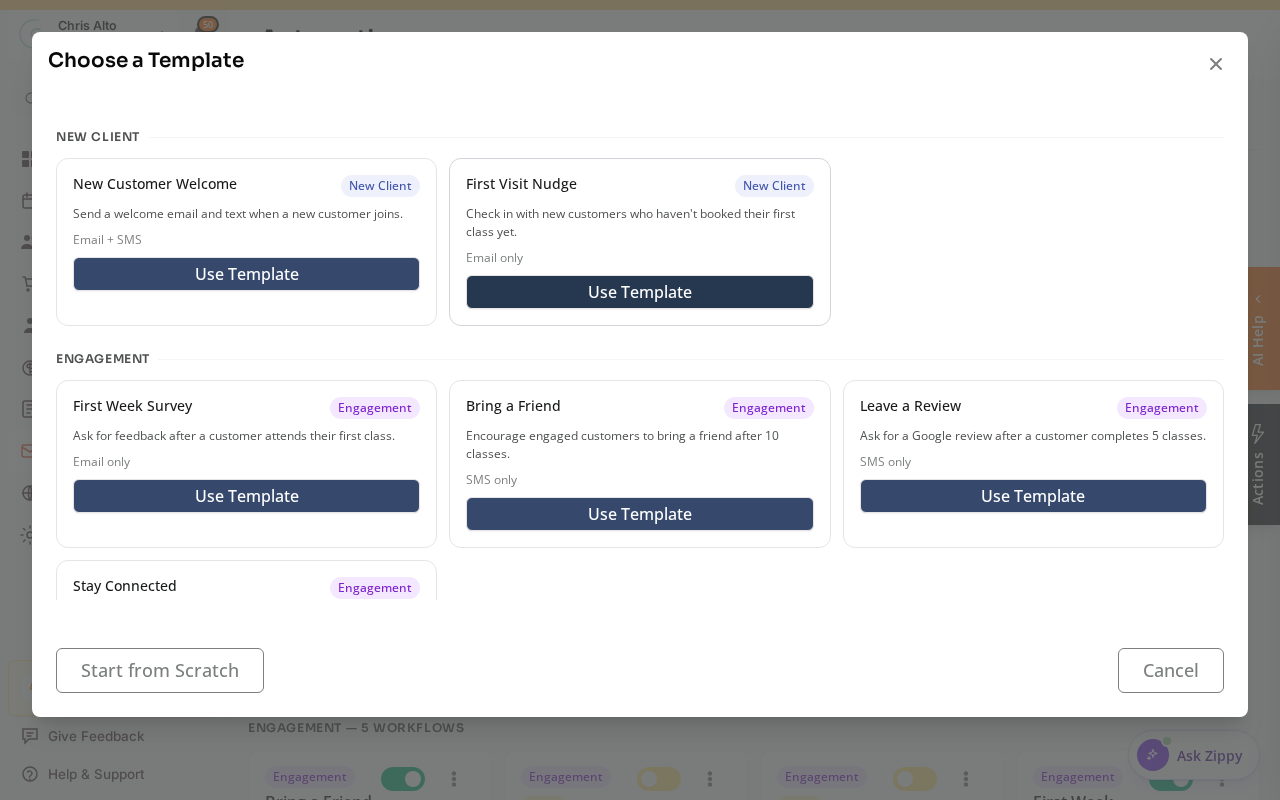
You’ll find automations under Marketing > Automations. Click New Workflow to start from a ready-made template or build your own from scratch.
Triggers
Choose a trigger — this is the event that starts the automation.
| Trigger | When it fires |
|---|---|
| Form Submitted | A customer submits a form (intake, waiver, contact form) |
| Event Registered | A customer registers for a standalone event |
| Product Purchased | A customer purchases any product (subscription, booking credits, drop-in) |
| Class Registered | A customer registers for a class |
| Moved to Workflow State | A lead moves to a specific stage in your CRM pipeline |
| New Customer | A new customer is added to your customer list |
| Appointment Type Scheduled | A customer books a specific appointment type |
| Events Attended Milestone | A customer reaches a specific number of event attendances |
| Appointments Attended Milestone | A customer reaches a specific number of appointment attendances |
| Credit Expiration | A customer’s booking credits are about to expire |
| Monthly Anniversary | A customer hits a monthly milestone (e.g., 3 months as a member) |
| Customer Birthday | A customer’s birthday is approaching |
| Before Appointment | X hours or days before a scheduled appointment |
| Before Class | X hours or days before a registered class |
Actions
After the trigger fires, add one or more actions to the automation.
| Action | What it does |
|---|---|
| Send Email | Send an email — choose from a saved template or write a custom one |
| Send SMS | Send a text message (requires Twilio connected) |
| Send In-App Notification | Send a push notification to the customer’s app |
| Add to Contact List | Add the customer to a marketing contact list |
| Add Customer Tag | Apply a tag to the customer’s profile |
| Move Lead to Workflow State | Move a lead to a specific stage in your CRM pipeline |
| Issue Booking Credits | Add booking credits to the customer’s account |
| Create Customer | Convert a lead into a full customer profile |
| Delay Time | Wait before the next action (immediately, X days after, before next billing) |
| Check Condition | Branch logic — send different paths based on customer status or tags |
Automation Flow
- Select a trigger from the list
- Configure the trigger (e.g., which product, which class, how many days before)
- Add actions — can be chained in sequence (Send Email → Wait 3 days → Send SMS)
- Publish to make the automation live
Common Automation Recipes
| Goal | Trigger | Actions |
|---|---|---|
| Welcome new member | Product Purchased | Send Email (welcome) → Add Tag (new member) |
| Send appointment reminder | Before Appointment (24h) | Send SMS (reminder) |
| Win-back lapsed member | Monthly Anniversary (3 months after last class) | Send Email (we miss you) |
| Move drop-in buyer to leads | Product Purchased (drop-in) | Move to Workflow State (New Lead) → Add Tag (drop-in) |
| Birthday offer | Customer Birthday (3 days before) | Send Email (birthday discount) |
| Credit expiry warning | Credit Expiration (7 days before) | Send SMS (use credits before they expire) |
Tips
- Delay actions: send one email immediately, wait 3 days, send a follow-up
- Conditions: branch on customer status or tags — if active subscription → X, else → Y
- History tab: every automation logs each trigger and result
- Runs-once setting: limit welcome emails (and similar) to one run per customer
Troubleshooting
Automation isn’t firing? Confirm it’s published (not draft), the trigger matches the exact event, and the customer meets any conditions.
Need to pause? Click the automation and change status from Active to Inactive.
Need a hand?
Email our team at support@joinzipper.com and we'll usually reply within a few hours.
Was this article helpful?
Thanks for your feedback.