How to Send Account Creation Invites at Launch
After importing your member list, send invites to all customers so they can claim their Zipper accounts before (or on) launch day.
Step 1: Import members first
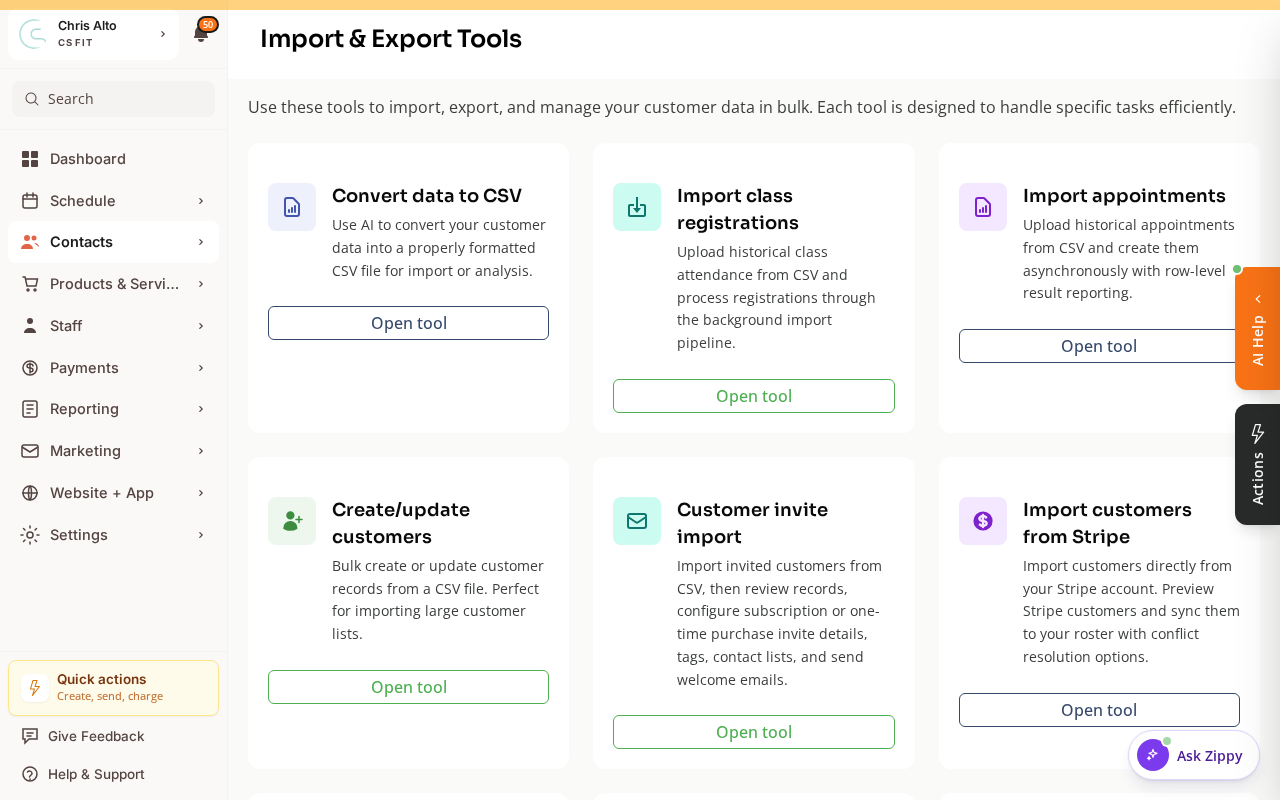
Invites only work for customers already in the roster. Complete your data import before sending invites — the Import & Export Tools (Contacts > Customers → Import/Export) include a Customer invite import tool that imports customers and sends welcome/invite emails.
Step 2: Send bulk invites (recommended method)
- Navigate to: Contacts > Customers
- Filter to customers without active accounts (look for “Not registered” or “Unclaimed” status filter if available)
- Select all matching customers using the checkbox
- Click: Actions → Send invite (or Invite to manage account)
- Confirm the bulk send
What the Invite Email Contains
- A personalized greeting
- Their studio name
- A link to claim their Zipper account
- Instructions for setting up their profile and password
Individual Invites
For specific customers or re-sending:
- Open the customer’s profile in CRM
- Click: Invite to manage account button
- Confirm → invite sent
Timing
Send invites 3–7 days before your go-live date so members have time to claim their account and get familiar with the app before their first class.
Tips
- Send a follow-up: Some members won’t open the first invite. Send a reminder to unclaimed accounts 2–3 days before launch.
- Explain in the invitation email: The invite may look unfamiliar. In your migration announcement, tell members to watch for a Zipper invite email so they’re expecting it.
Troubleshooting
Customers say they didn’t receive the invite. Check spam folders. You can resend from the customer’s CRM profile. If bounces are occurring, verify email addresses in the customer list.
Need a hand?
Email our team at support@joinzipper.com and we'll usually reply within a few hours.
Was this article helpful?
Thanks for your feedback.